Sunday 20 September 2015

Leather Boots: I Think Yes!

Hello World! 

I have been thinking about this more than I can express and I have to finally let it out 

LEATHER BOOTS 


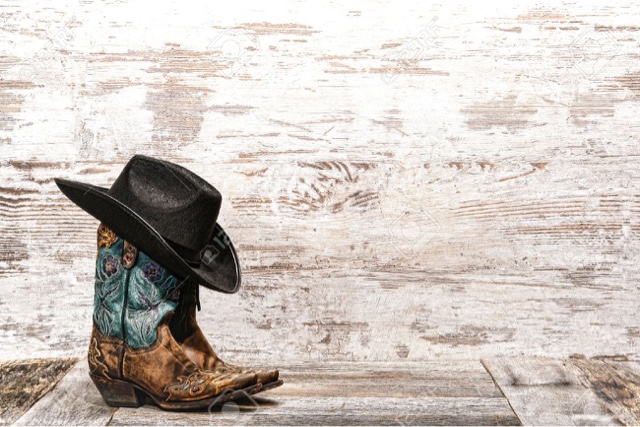
A gift from fashionistas themselves. No matter what your style is, leather boots and a good old hat will suite you. Heck, they suite everyone. As my current motto goes, it's a black sweater and leather boots kind of lifestyle. 


This is by far one of my favourite style trends, and am very happy it exists. I can highly recommend getting a pair of black leather boots (fake or real). I picked mine up for $20 from my local Big W, which shows you don't need to get Doc Martins. 

The best part is the fact that these boots are super comfy, and don't require heels like some shoes meaning you can wear them practically everywhere. 

If you're ready, nothing can stop us 

Stay fabulous, 
Girl Radical xxx

Saturday 29 August 2015

Planes

Hello World! 

So today I just wanted to show you some photos I took on a plane recently. I love taking photos in planes because they look incredible for one, but you can see things that you might have never seen before. If you're going on a plane I ugly recommend taking the window seat (if you don't hate heights or planes). 


Now you don't need any special camera to do this, I just used my phone (iPhone 5s). Most phones come with a brilliant camera noadays, you just have to point and shoot. 

If you're ready, nothing can stop us 

Stay fabulous, 
Girl Radical xxx

Tuesday 11 August 2015

Pom- Pom Bedroom Art

Hello World!

Okay, this is one I have been dying to share with you. I made these a while ago, and only just realised I've never shared, so here goes. 


I used to have a huge poster hanging on the wall there, but I decided I needed something better, so I made these 

First things first, find some cardboard and cut two identical sized rings out of them. I used an old cereal box and a large glass. Keeping in mind the larger the donut, the larger the pom- Pom. 


Next, draw a smaller circle in the middle and cut it out. I fold it gently in half, trying not the bend or crease the cardboard and cut it. Once you have both, just put them together and you're good to go. 


Next is the wool. I picked these up from my $2 shop, they don't have to be super high quality but just make sure the threads don't rip to easily. I got purple and grey because they match my room best. 

Now, depending on the size of your carboard, you may or may not need a needle. I used large donuts so I didn't need them, but smaller ones are made easier by using a needle. All you do is start looping the thread around the donut, making sure to cover all the carboard. The more layers of wool the thicker your Pom- Pom is going to be, I usually do about 4. Now, cut the thread and tuck it under. 

From here, you will need to cut a long piece of wool from your remaining wool, to make the tail. The longer the better, as you can always cut it later. 

Now simply start to cut the wool at the edge of the donut, so you can see the cardboard inside. Then, taking your extra piece of wool, loop it through the two pieces of cardboard and pull it really tight. When you tie it, tie it as tight as possible to stop the threads coming out. Then, simply slide the cardboard off the end, and your done. 

You can give the Pom- Pom a haircut if needed, but I liked the fluffy look on mine so I left it. 

And there you have it! Make sure to leave a comment below on what your thought of this craft idea, and if you have any suggestions for further blogs. 

If you're ready, nothing can stop us
Stay fabulous, 

Girl Radical xxx
Sunday 2 August 2015

The good kind of spider

Hello World! 

I think the time has finally come for me to share my ultimate favourite treat. 

Spiders! And not the creepy crawlers or the drink kind. I mean the chocolate kind. 

All you need is some ready to eat noodles, 200g cooking chocolate in any kind 2 tablespoons of butter a freezer a tray baking paper and a microwave. 

Step one: 

melt the chocolate and butter together in a microwave. 

Step two: 

Pour the noodles into the melted chocolate and butter mixture, and stir so all the noodles are well covered. 

Step three: 

Take spoonfuls of the mixture and place them on the tray evenly spread. 

Step four: 

Freeze 

Step five: 


Eat. 

Please leave a comment below if you tried it, or anything you want to see in a future post. 

If you're ready, nothing can stop us
Stay fabulous, 
Girl Radixal xxx

Make your own fashion

Hello World! 

I've noticed recently that quite a lot of people have been wearing jeans with the hems rolled up to make 3/4. I decided to invest in getting a pair of these, only to discover that the cheapest ones were $40. 

I wasn't having any of this, so I took a pair of my old flare jeans, and transformed them into rolled 3/4 jeans. Flares are great because you can pick them up at any op shop or second hand store, and they are super cheap. 


Mine weren't quite this long, but make sure they are lose fitting or they won't roll properly. Once you have rolled them to your desired length, you can pin or sew them if they don't stay up. Enjoy! 


I usually style mine with a kimono and plain t- shirt or a loose fitting cotton shirt. 

I did buy this I just happened to have a photo of it in the store handy. 


And a pair of trusty black high tops and socks 


Walluh! I hope you enjoy your new outfit. Leave a comment below if you do decide to do it, or want you want to see in future posts. 

If you're ready, nothing can stop us 
Stay fabulous,
Girl Radical xxx

Tuesday 28 July 2015

Taco Tuesday: Senior Year

Hello World! 


Sending a shoutout to all the senior students out there. This post came up in my facebook newsfeed the other day and I though I would send this good thoughts this week. 

I wanted to encourage everyone to enjoy their senior year weather it's high school, primary school or uni or anything, enjoy it because before we know it life is knocking on the front door telling us the future is due. 

So whatever you want to do with today, go and do it because soon enough responsibilities are going to take over and there won't be any time to do what you've always wanted. So next chance you get, get out there and just do it!! 

If you're ready, nothing can stop us
Stay fabulous
Girl Radical xxx

Tuesday 7 July 2015

What's in my bag

Hello World! 

The other day I decided to update my foundation routine, because I have had a burst of acne and the old one wasn't working. 


1. The base 

First, I use a primer that I can't reccomend because I don't know where it's from. But, I can recommend using a primer full stop because they make the skin smoother and easier to apply make up on. 

Next is another item I cant recommend. It's a clear pen that I use to outline my eyebrows and lips, it kind of works to smooth and hide any hairs or impurities. 

My third product is the Garnier BB cream for light oil to combination cream. I absolutely adore this product and also use it at school or if I don't want to wear a full face of make up. 

Fourth is the Natio natural skin light foundation. This is, as it's called, light foundation and almost like a tinted moisturiser. I have quite large pores and wearing thick foundation makes pimples pop up like flowers in spring. This product is great for skin which reacts badly to make up, especially when paired with a light BB cream or similar in a light shade. 

Next is the cover girl concealer in a tan shade. I can recommend basically any concealer, it's a matter of winding what works best on your skin. But for a concealer, apply after the foundation, it helps the concealer to work better. 

For the final product, apply a light touch of powder to set the foundation. Apply it mostly to the areas where you want the best coverage of blemishes and such. Another tip, tilt your head backwards slightly when applying the power to help it stay on better. 

Ok, so that's my recommended when it comes to foundations, if you would like the next level of make up, leave a comment below. 

 If you're ready, nothing can stop us
Stay fabulous, 
Girl Radical xxx